How to Connect a RETS Feed to Your Website
Please note that the Real Estate Transaction Standard (RETS) has been deprecated and is no longer recommended for use in MLS/IDX integration. Consumers are advised to use the Real Estate Standards Organization (RESO) Web API, which provides a more efficient and secure way of accessing MLS/IDX data. We strongly encourage all users to transition to RESO Web API for a better and more reliable experience. Learn more
A RETS feed is a powerful data source for an IDX website. It can boost the SEO content on your site and help your page ranking. It also can help you avoid monthly IDX provider fees as some MLS will grant RETS access at no additional cost to members. Follow these steps to connect a RETS feed to your website. Or check out What is a RETS Feed? to learn more.
Step 1
Upgrade Hosting
A RETS feed can add 100 GBs or more of new property listing data to your site. You need to make sure your hosting plan can handle the load.
Step 2
Choose RETS Software
A RETS feed transfers property listing data in raw format. To publish this data on your site requires software to receive and interpret the feed.
LUKE’S TIP:
Step 3
Install Software
Your RETS vendor should have instructions on how to install the software and configure it.
Step 4
Acquire RETS Login from MLS
Speak to your MLS license administrator about obtaining RETS access. There will be an approval process with license agreements and rules. Once complete, the MLS will issue a username and password to access the RETS server.
Step 5
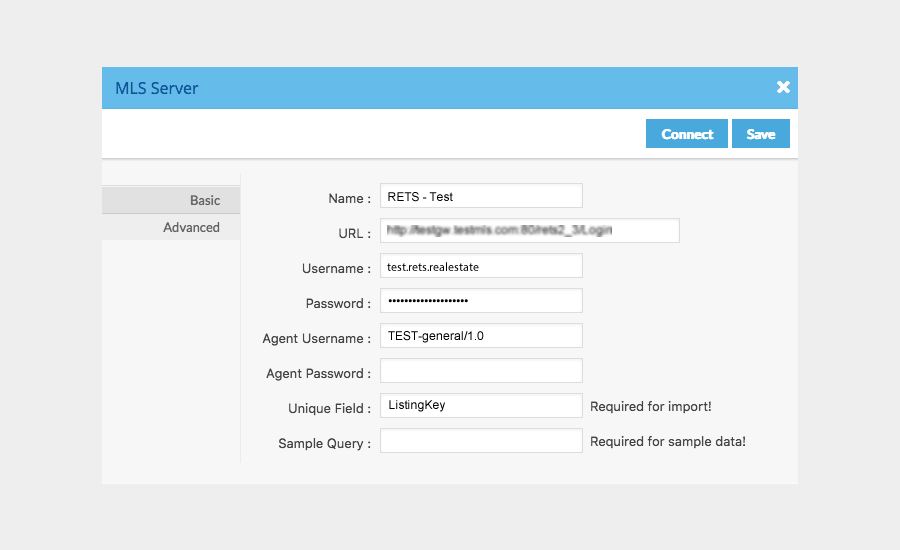
Establish Data Connection
Enter the login information into your RETS software to connect to the MLS server.
Step 6
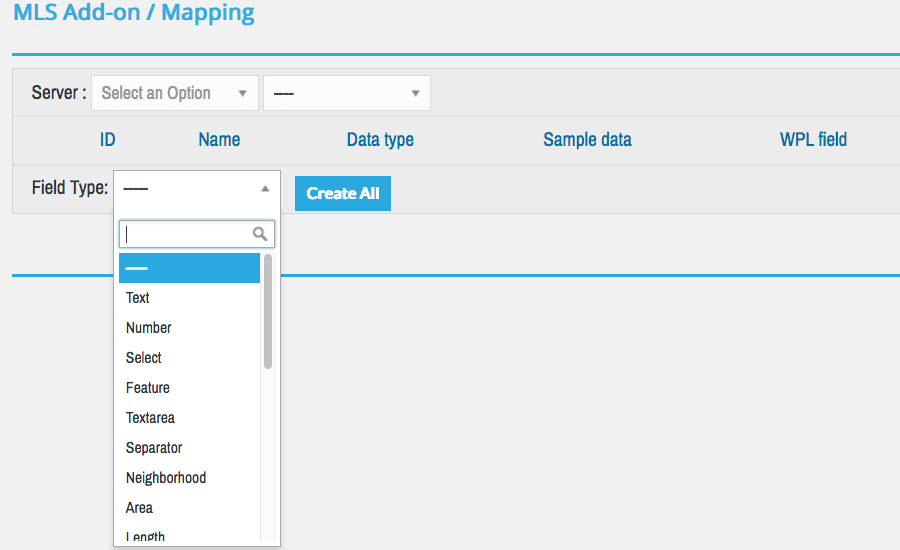
Map Fields
Use your RETS software to map RETS fields to the appropriate locations on your site. This will ensure that each piece of data appears in the right place.
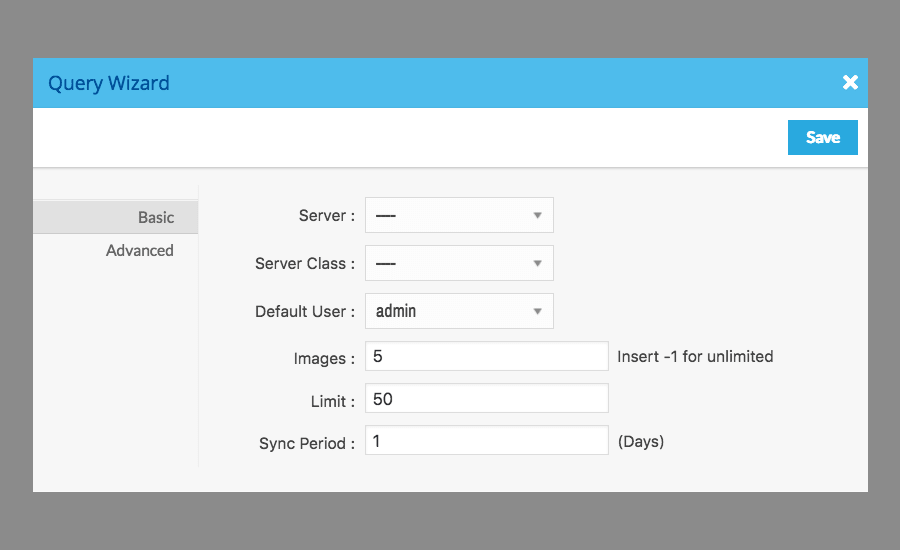
Step 7
Set Queries
Queries tell the RETS software the types of listings you want to import and where they are located.
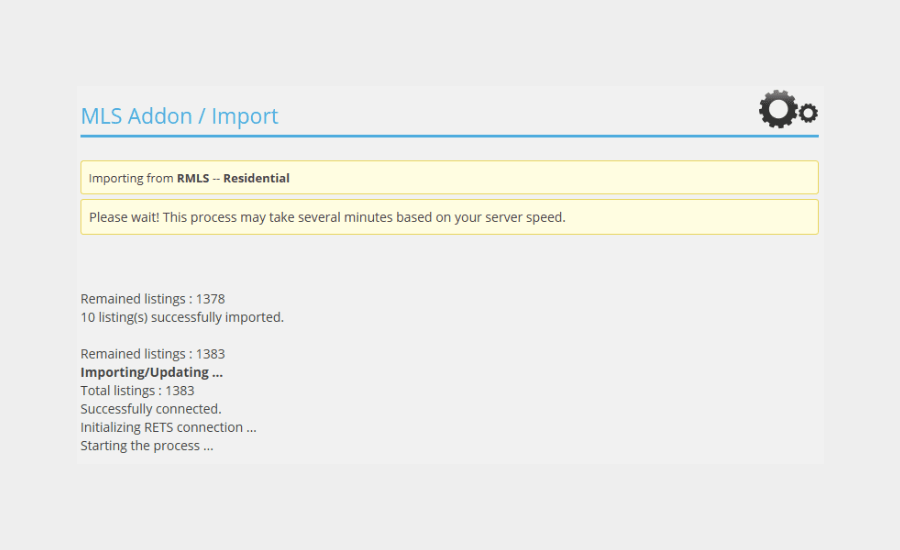
Step 8
Test Import
Import a few listings to confirm data accuracy. Make any mapping or query adjustments necessary.
Step 9
Full Import
Run an import of all listings. This may take several hours depending on the server load.
Step 10
Set Up Synchronizations
Add relevant commands to your chron-job system to run the import process automatically.
Pro Tip: Steps 6-10 are technical in nature. If you are not comfortable, ask your RETS software vendor. They may provide these steps as part of your purchase.
At this point your RETS feed is connected and updating. You can move on to front-end search configurations, lead generation, or other website needs. Good luck!
For more how-to’s, check out How to Create Real Estate Market Reports and Generate Leads or How to Generate Real Estate Leads with Twitter.
Sorry, the comment form is closed at this time.