
How to Create a Targeted and Successful Real Estate Facebook Ad
Real estate professionals are busy. I am well aware of the time and effort agents must spend every day on a variety of tasks: communicating with clients, contacting leads, driving through neighborhoods, maintaining your website, filing paperwork, organizing open houses and more. Agents and brokers do not have time to jump through hoops and and run into problems trying to create a successful Facebook Ad.
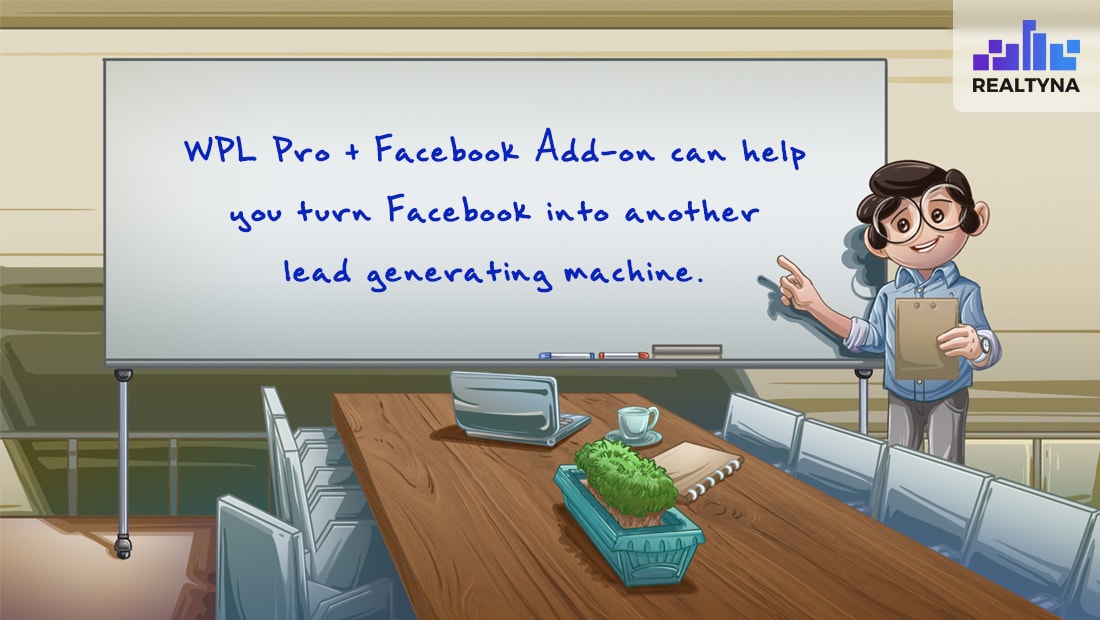
To make your life easier, and time more efficient, I have put together a step by step guide on creating a targeted and successful real estate Facebook ad with Realtyna’s Facebook Add-on.
Step 1
Create a Facebook Ads Account
If you are new to Facebook ads you will need to create an account to manage your ads, billing, and spending limits. To do this, simply log into your Facebook and find the “ad,” page and follow the prompts. Here, you will also find targeting tools, analytics, and more. Set your settings to match your business needs.
Step 2
Create catalog through WPL Facebook Add-On
With the Facebook Add-on, you will choose which listings you want to add to your ad catalog. This is done through the backend of your WPL website. This part is fairly simple, but you will be guided and helped by Realtyna staff.
LUKE’S TIP:
 Step 3
Set up your Facebook settings
In this step, you will set up your settings and configure the add-on for example, API, Catalog name, secret etc. This installation will be done by Realtyna staff through our complimentary installation service.
Step 4
Set up mapping
Also handled by Realtyna staff, you will team up to set up mapping, or choose the default option. In this step, you will choose which information you would like to include on the ads as well as match the WPL fields to the Facebook fields.
Step 5
Choose What to Sync
Last but not least, once the catalog is finished, installation is done, and mapping is configured, you have all you need to start your dynamic ads. From here, you will choose which listings from your catalog that you want to include in your campaign from the Facebook Ad dashboard.
And there you have it. As with all technology from Realtyna, it all starts with a call to our team and we will guide you through the rest. Have any questions? Comment below!
Check out our video tutorial here!
Sorry, the comment form is closed at this time.