How to Launch a Facebook Ad for Real Estate
Facebook is playing an important role in online marketing, and it is probably the most dynamic advertising platform among the social networks. It also provides a unique opportunity for real estate businesses to promote their brand, listings and other products and services on its Ad manager.
Facebook Ad manager offers a wide range of options and features. That is why it might be a bit confusing for some to run a successful Facebook ad campaign on their first try.
In this guide, we will review steps to launch a real estate Facebook ad for your business. Facebook recommends using the following the types of advertising to realtors:
- Facebook real estate ad
To use this feature, you need to launch a dynamic ad with Facebook. This requires you to install Facebook Pixel on your website, which needs a level of technical knowledge. Alternatively, you can use Realtyna’s Facebook Add-on. This add-on helps you launch dynamic facebook ads in a few steps.
- Video Ads
This type of ad will bring traffic or engagement to your website through a video. It is a more effective and at the same time, more costly approach to Facebook ads.
- Lead Generation
Lead generation is the most popular form of advertising on Facebook. It offers features that help you receive leads from your targeted audience.
- Advertising From Instagram
We all know that Instagram is owned by Facebook and recently, reports indicate that in some areas and within specific age range and audience type, there is much more traffic on Instagram than facebook. That is why Facebook recommends promoting on Instagram only or along with Facebook.
Let’s check out the steps to launching an Ad on Facebook for real estate :
1. Get Started
Click on + icon on the top right of your Facebook page.

Choose Ad!

2. Create an Account
In this stage, we have to choose an objective for our campaign. Let’s say we have just created our real estate website and we want to bring more visitors to our website.
Select Traffic and scroll down.

Before setting up the ad, you need to consider these two options.

The first offers a trial for your ad to see how it works. If you optimize your ad carefully, there will be no need to choose this. The second helps you keep a cap on your budget. If you are not sure about your budget, you can activate this one.
Now, we can move on. Click on Set up Ad Account. (if you are using the quick more, you can click on Continue)
3. General Information
If you are on Ad manager, you should set up your location and time zone as follows:

Click continue.
4. Optimize Your Ad
This is the most important stage in which you can optimize your ad. Let’s review each section and find out what they are and how we can best configure them:
- Ad name: select a suitable ad name. Make sure you use related words. It will make optimization easier for you and the Ad manager.
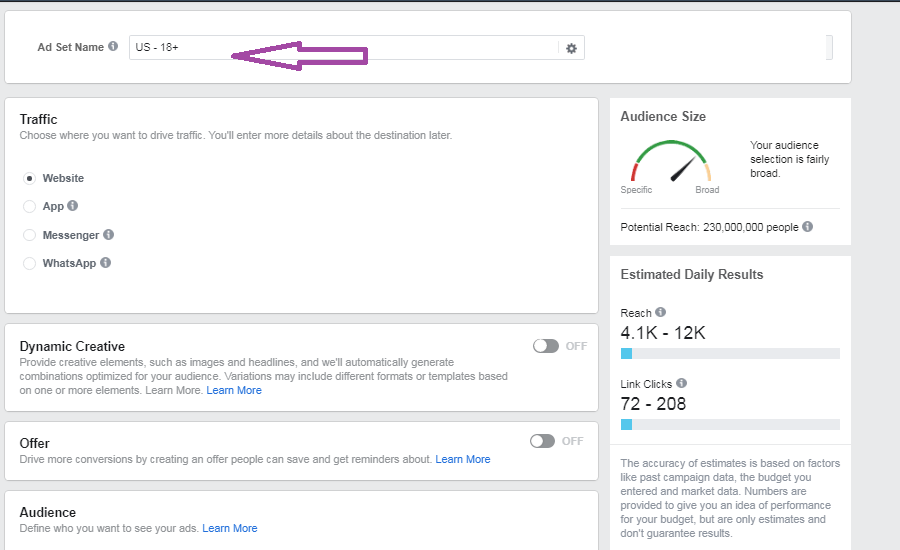
- In the next box, you should choose where you want to draw traffic too. In our example, we select Website
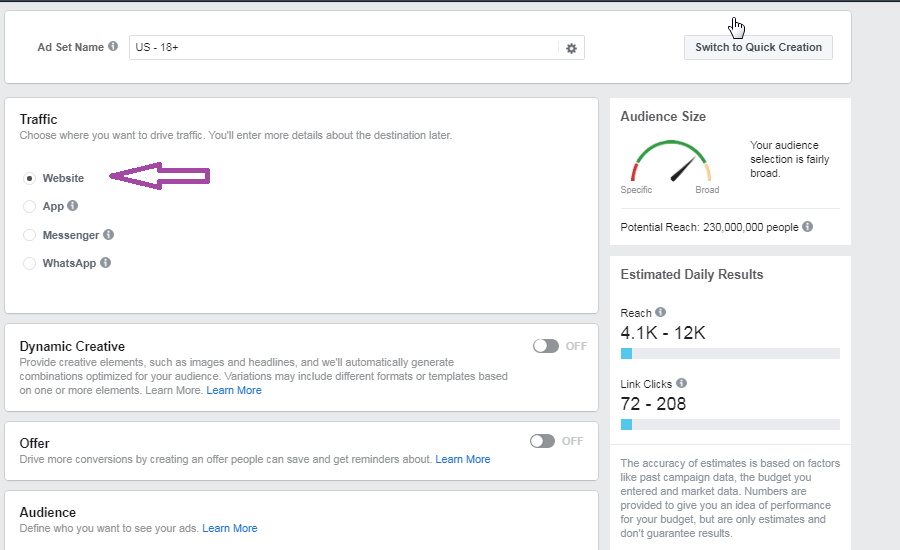
- If you activate Dynamic creative option, Ad Manager will use a headline and images of your own to create creative combinations for your specific audience. To make sure we have full control of the outcome of the ad, let’s leave this inactive.

- Offer section is for a specific and timed offer. Users will be reminded when the time comes. It is perfect for product/service release. Let’s move on:

- The Audience section is for setting up for your targeted audience. You can specify your audience based on the following:
- Age
- Keywords or phrases
- Views
- Searches
- Region
- Gender
- Language
- Connections
- And a lot more
Click Save the audience.
Remember, the meters on the right side of the page can show the estimated number of audience members based on your selection:
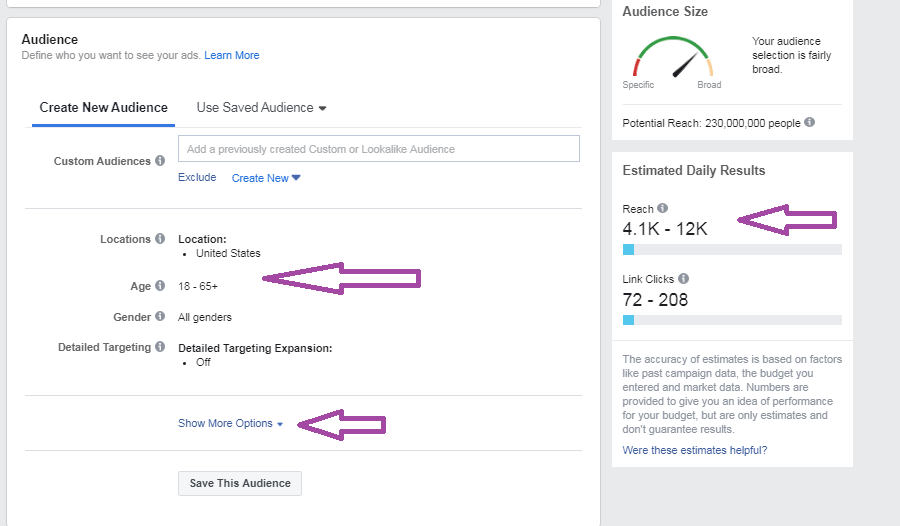
- Placements gives you two options: Automatic or manual placements. For a more tailored outcome. We choose the manual placement. Here you can choose your ad – in this case a video- is going to be promoted. You have several options:
- Different parts of the page
- News feed
- Messages
- And more

Then you will notice that your changes will affect the meters on the right hand side.
5. Define Your Budget
Success of a promotion is partly defined by the budget we spend on it. Here you can define the budget according to your conditions and target. I recommend that you stay under your best so you can increase or decrease it down the road.

There are no perfect specifics for this section because every video or audience may call for more or less. But since we are going to promote and video and bring traffic to the website, you should select impressions from the Optimization for Ad Delivery menu:

Press Continue.
6. Upload your Video
In the next stage, we upload the video we are working on. You can create videos or use the posts that are already available on your facebook page. In this example, we will select Upload a single video in the format section.

You can upload your video file in the Media section.
Texts & Link section helps you set up the text, description, URL and other features of the post.

Language can help translate the content according to your target audience. If you work with English only, you can forgo with this option.
Tracking offers tracking features for your ad. You can receive more detailed reports and analytics.

Press Continue.
7. Payment and Post
Finally , you enter your payment information and post your ad.
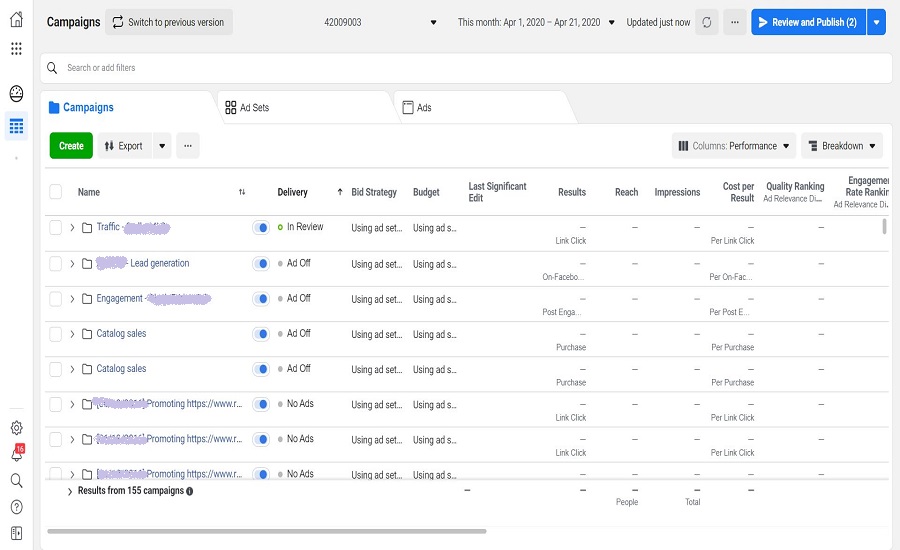
Your ad will be visible in your Ad manager and you can follow up on the progress. In some cases Facebook takes longer to review your campaign. It might take hours or even days. That will depend on your area and the nature of your promotion.
How Can Realtyna’s Facebook Add-on help?
Realtyna’s Facebook Add-on can help you :
- Promote listings on Facebook
- Re-target leads as they browse
- Link back to your site
- Reach more clients
- Generate Real Estate Leads using Facebook Listings
For more information on this, please check out the following article:


Sorry, the comment form is closed at this time.