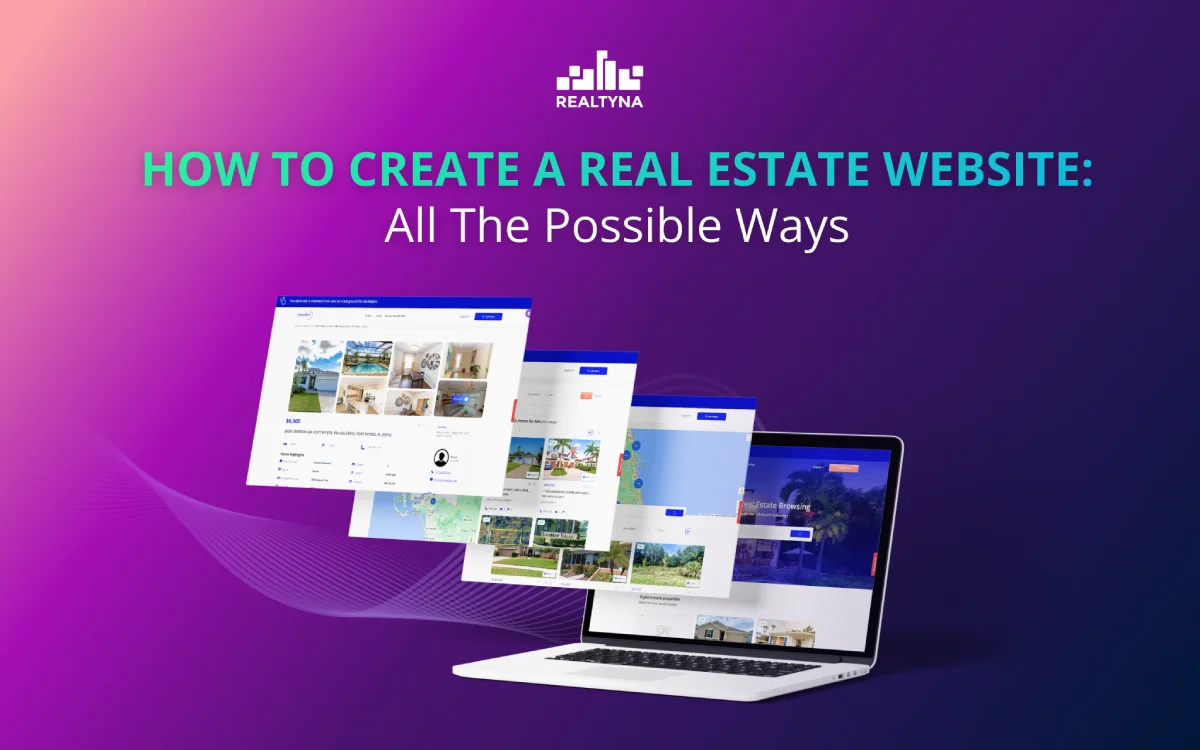
How to Build a Real Estate Website: All The Possible Ways
If you look to establish or improve your online presence, you’re likely wondering what the best approach is for creating a real estate website that will meet your specific needs.
In this article, we provide an in-depth look at the various options you have for building a custom real estate website.
We examine the pros and cons of hiring a web developer or a company, using website builders and templates, must-have features, and more.
Before anything, if you want to quickly launch your website with the fastest and newest technology in this industry, check our recent game-changer platform called MLS on The Fly.
Why You Need a Real Estate Website
A professional website is essential to helping you build your online presence and reach more potential clients.
A well-designed website establishes your credibility as an experienced agent and allows you to highlight your credentials, experience, accomplishments, and more:
- Increase Your Visibility
- Provide Useful Information
- Generate New Leads
- Stay Accessible and Responsive
So now we know we need to build a website for our real estate business, but how?
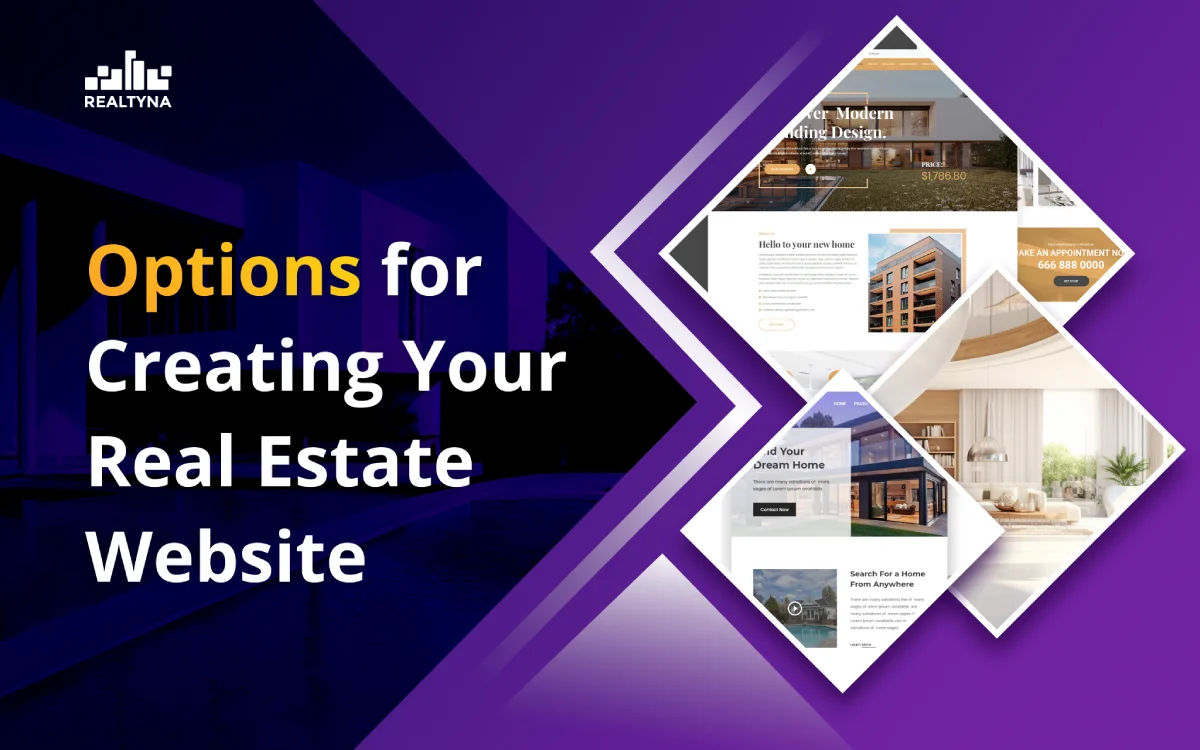
Options for Creating Your Real Estate Website
1. Using a Website Builder like WordPress, WIX, etc.
Website builders like Wix, Squarespace, and Weebly offer simple drag-and-drop templates that allow you to build your real estate website quickly and easily. However, WordPress is ultimately a more powerful and flexible option for real estate websites.
While both WordPress and website builders handle the technical aspects so you don’t need coding experience, WordPress provides more functionality, customization options, and extensibility through plugins and themes specifically designed for the real estate niche.
WordPress themes for real estate agents are also often updated more frequently, ensuring your website stays modern and relevant.
Therefore, most real estate professionals opt for a WordPress website over a website builder for a more professional and fully functional online presence.
2. Hiring a Web Designer or a Company
Hiring a professional web designer or a team has several benefits for creating a custom real estate website. They can design a website that matches your brand and meets your specific needs.
A custom-built website ensures a unique online presence tailored to your business. However, hiring also has drawbacks.
Web design services can be expensive, ranging from $3,000 to $10,000 for a real estate website. The high upfront cost may not be feasible for some.
Additionally, maintaining a custom-built website may require engaging the web designer for future updates and changes, incurring extra fees. Business owners must weigh the advantages of a custom website against the high initial investment and ongoing maintenance costs.
So there are 2 main options yeah? let’s explore each:
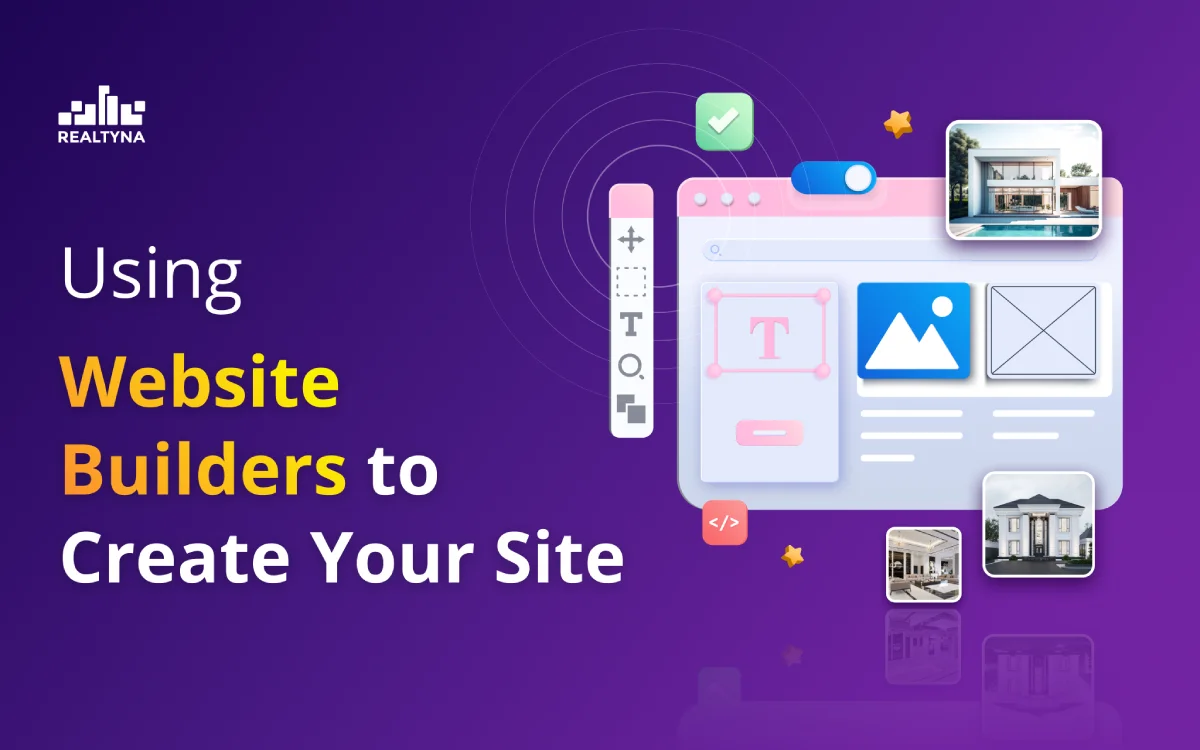
Option 1: Using Website Builders to Create Your Site
Step 1: Choosing a Builder
The most popular content management systems for real estate agents are WordPress, Drupal, and Joomla. Each has good features and compatibility.
Step 2: Selecting a Template
Website builders provide templates in various styles from modern and sleek to traditional and conservative.
Browse the template options to find one that aligns with your brand and the overall look and feel you want to convey.
You can then customize the template by adding your logo, photos, color scheme, and content.
Realtyna Offers several awesome templates for almost all website builders, check our real estate themes.
Step 3: Adding IDX Listings and Your Content
A key feature of any real estate agent’s website is the ability to display property listings from your local MLS.
You need to add IDX integration to your website which will automatically pull in and display listings from your MLS on your site.
If you chose WordPress as your CMS, check out how to add IDX to WordPress, if not check how to add IDX to the website.
Hiring a Web Designer or a Company to Build Your Site
Step 1: Do Your Homework
One of the most important steps to hiring a company or a designer is researching your options thoroughly.
Look at the portfolios and client reviews of several candidates to evaluate their skills and experience designing real estate websites.
Check if they have experience with your specific MLS or brokerage back-office software. Interview a few of your top choices to determine which designer understands your needs and can bring your vision to life within your budget.
Step 3: Define the Scope and Set a Budget
Before hiring anyone, determine the scope of your project in as much detail as possible. Will your site have an IDX feed to display listings? Blog posts or other content? What specific features and functionality do you need? Provide them with a creative brief, sitemap, or wireframes to ensure you are both on the same page about the requirements and timeline of the project.
Also, set a budget for the initial build and ongoing maintenance and support. Get estimates from different designers to compare.
Step 4: Sign a Contract
Once you select a web designer, sign a comprehensive contract that outlines the scope of the work, timeline, budget, and ownership details.
The contract should specify that you own full rights to the design, code, graphics, and content upon final payment. It should also detail provisions for ongoing support, maintenance, and any warranties in case you encounter issues with the site after launch.
With a solid contract in place, you can have confidence in the web design partnership and focus on the creative work of building your site.
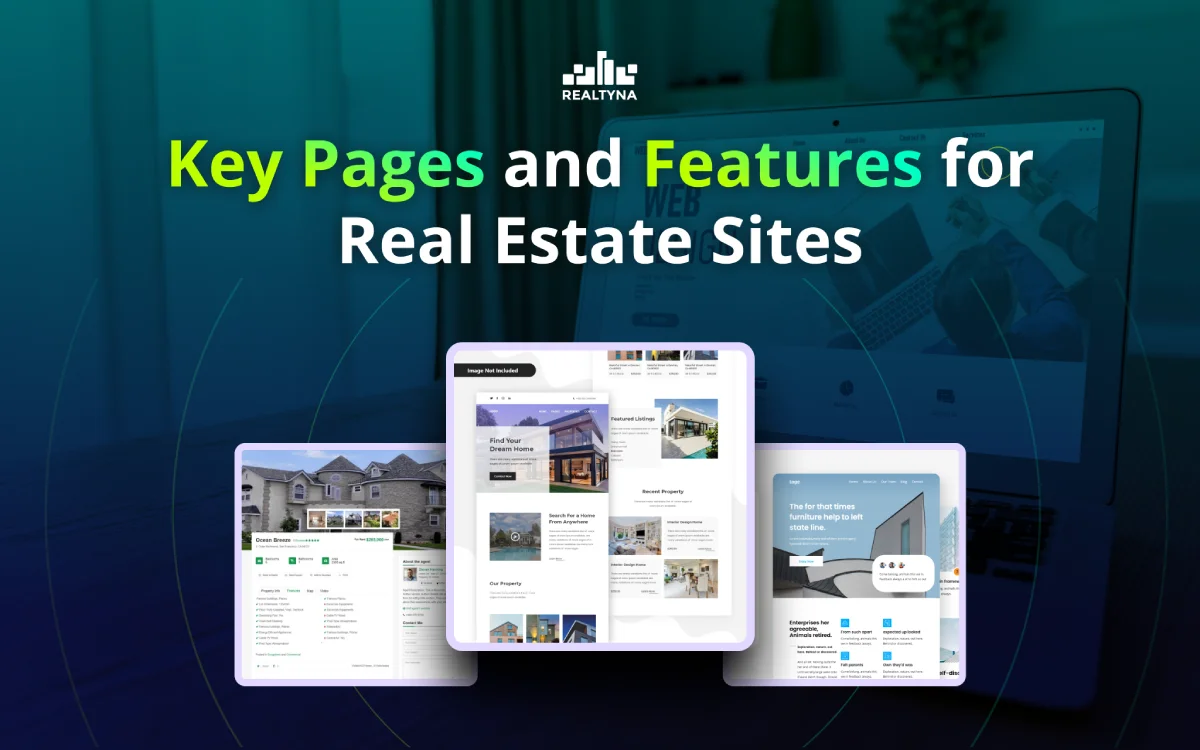
Key Pages and Features for Real Estate Sites
Property Listings
The heart of any real estate website is the property listings page. This is where you showcase all current properties for sale or rent. Each listing should include details like square footage, number of rooms, amenities, location, price, photos, and a way for visitors to contact you for more information or to arrange a viewing.
Property Search
Allowing visitors to filter through your listings by parameters like price, location, number of rooms, type of property, and more will make it easy for them to find properties that match their needs. An advanced search feature with multiple filters is ideal.
At Realtyna except for the general property search, we offer an Advance Portal Search add-on which has higher abilities and features.
Lead Capture Forms
Strategically placing lead capture forms, like a “Contact Us” or “Request More Information” form, throughout your site allows you to capture visitor information.
Having their name, email, phone number, and the property they’re interested in enables you to follow up and nurture the lead to move them through the sales funnel.
Blog
A blog focused on topics related to real estate, home buying and selling, mortgage rates, and the local property market establishes you as an authority in the industry. Share advice, tips, trends, and news to build trust and rapport with visitors. Prominently feature a call-to-action on each post to capture leads.
Resources
Providing additional resources like a mortgage calculator, information on the home buying and selling processes, details on the local area and community, and a glossary of real estate terms gives value to visitors beyond just property listings. These resources also keep people on your site longer, increasing the chance of lead capture.
Social Media Links
Include links to your social media profiles so visitors can connect with you on their platform of choice. Staying active on social media, especially local community groups, and promoting new listings and blog posts helps to increase traffic to your real estate website. Mention your social accounts on business cards, in email signatures, and in your blog author bio.
Optimizing Your Site for SEO
Having a website without working on its SEO is just a waste of time and money, if you want to enhance your business you must consider SEO. If you are not really familiar with search engine optimization check out our real estate SEO guide.
Keyword Research
Conducting keyword research is crucial for optimizing your real estate website for search engines. Focus on keywords related to your location and the types of properties you sell. Use tools like Semrush or Ahrefs to find keywords with high search volume and low competition.
Target these keywords in your page titles, URLs, headings, and content. Don’t neglect to track and monitor your keyword.
Optimized Page Titles and URLs
Your page titles and URLs are two of the most important on-page SEO factors. Include your target keywords in page titles, using an H1 heading for page titles. For URLs, use hyphens instead of underscores and include keywords. For example, use “/luxury-homes-for-sale-in-miami” rather than “/properties_for_sale”.
Check out our complete URL structured guide if you want more info.
Add Relevant Content
Provide informative content on each page of your site, including details about the properties you have listed. Write blog posts, guides, and resources about buying and selling real estate in your area.
Internal Linking
Link to other relevant content on your site to keep visitors engaged. When writing a blog post about the best neighborhoods in your city, link to property listings in those neighborhoods.
Technical SEO Factors
Technical SEO refers to factors like site speed, mobile-friendliness, secure hosting, and more. A fast, mobile-optimized site with secure hosting will rank higher in Google. Use page caching, content delivery networks, and image optimization to improve speed. Having a site audit run on your website might be a good idea too.
At the END
A professional, user-friendly real estate website is essential for lead generation and business growth.
With the proper domain, hosting, templates, content, optimization, and promotion, you can establish a dominant online presence and connect with motivated home buyers and sellers.
Continuous refinement and updating will keep your website relevant, ranked highly, and a key part of your real estate success.
Thanks for your time.



Sorry, the comment form is closed at this time.