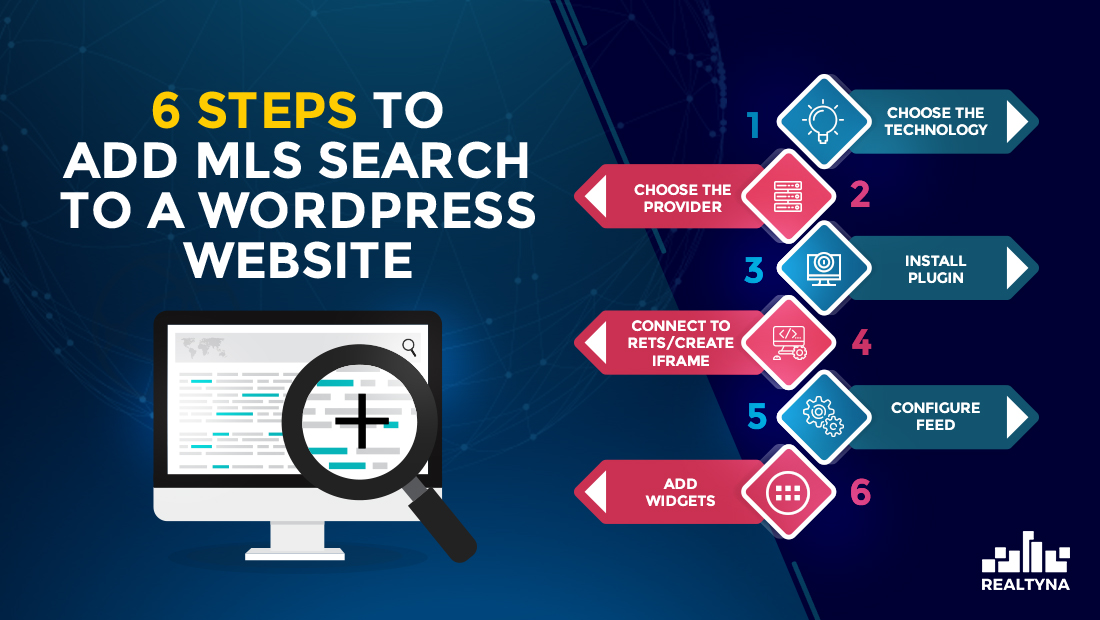
6 Steps to Add MLS Search to a WordPress Website
Please note that the Real Estate Transaction Standard (RETS) has been deprecated and is no longer recommended for use in MLS/IDX integration. Consumers are advised to use the Real Estate Standards Organization (RESO) Web API, which provides a more efficient and secure way of accessing MLS/IDX data. We strongly encourage all users to transition to RESO Web API for a better and more reliable experience. Learn more
In this article we are going to show you what you need to do to add MLS search to a WordPress website.
Follow these six easy steps to start displaying MLS property listings on your site and generating more leads.
Step 1) Choose the Technology
The first step to add MLS search to a WordPress website is to understand that not all IDX technologies are equal.
You’ve probably seen them around the web…ads for IDX Provider A $59.99/month, or IDX Dealer B $49.99/month.
Many of these services are offering what is known as IDX framing. Under framing, the IDX provider creates a frame on your site to view listings that reside on its servers: https://realtyna.com/blog/what-is-idx-framing/
This can sap the SEO power from your MLS Search, and limit your search engine visibility, but framing technologies often involve low upfront fees. So if you need something cheap and you aren’t interested in showing up in web searches, framing might be right for you.
A more robust IDX technology is organic. Under organic systems, the MLS listings reside on your website server and they are “readable” by search engines, which means your site has a change to appear every time a user runs a webs search related to one of the listing on your site: https://realtyna.com/mls-idx-integration/
Examples of organic IDX technologies can include RETS and RESO Web API.
Step 2) Choose the Provider
Once you’ve chosen your preferred technology, you should price shop for an IDX provider. You’ll want to ask your provider whether they using framing or organic. You also should ask about monthly fees. Some organic providers will sell you their software for a one-time payment, which in the long-term is probably going to save you money over paying monthly fees indefinitely.
Step 3) Install Plugin
Once you make your payment, the IDX company will provide a link for downloading and installing the necessary WordPress plugins for your MLS search. Some will provide this installation for you free of charge, if its not something you want to tackle on your own.
Step 4) Connect to MLS/Create iFrame
If you are using an organic system, you’ll need to connect your plugin to your MLS listing database. To do this, your MLS should issue RETS/API login credentials. Enter these credentials into your plugin to import listings and add MLS search to your WordPress website. You can find more information on getting RETS credentials here: https://realtyna.com/blog/how-can-i-get-a-rets-feed/
If you are using a framing system, most likely you will use your plugin to generate an iframe. Once created, you can copy and paste this code to the page of your choosing to establish your IDX display.
Step 5) Configure Feed
Organic users will have the chance to configure their feed at this point. If you are technically capable you should map the fields and property types you want to display in your MLS search. If not, your organic provider should do this for you as part of your purchase.
If you are using an iframe, you may not have as many configuration possibilities. You will need to work with your IDX provider to see if they can accommodate any necessary changes in your iframe.
Step 5) Add Widgets
You should use widgets to control what appears on your website. For example, your plugin may allow you to add favorite or featured property functions to a side bar. You also may be able to configure your search bar or agents from your widget panel. This will allow you to personalize your MLS search and website.
Step 6) Choose Theme
There are a lot of great WordPress themes that can incorporate organic IDX feeds. You can even find some free WordPress IDX themes, like Sesame Theme, that look great and cost you nothing at all. Choose a theme and install it to give your WordPress site a clean and modern look and to transform it into a lead generating machine.
Realtyna is the exclusive provider of Organic MLS Integration, our signature organic MLS search model: https://realtyna.com/mls-on-the-fly/
Contact us today for a free consultation or a free trail.


Dino
Posted at 11:28h, 03 SeptemberThank you for being clear with your instructions/steps. I’ve looked around and don’t see that in other articles. One question though:
1) Can you use one IDX plugin to generate two different MLS lists (for example, one for Louisville and one for Cincinnati)?
2) Do I need to get/purchase the link/data feed from the local realtor providing the local MLS feed?
Tait Militana
Posted at 04:17h, 07 SeptemberHi Dino, thanks for your comment. Yes, you can use one plugin for multiple MLSs. You will need to get the data feeds from the MLSs. We have some more details in our blog How to Access the MLS.
Phillip Inman
Posted at 17:07h, 21 NovemberSo is an IDX service the only way to add a MLS search to your own personal webpage? I am a website designer and I have a realtor as a client who wants to add this option to his site. Thanks for your help.
Tait Militana
Posted at 05:52h, 25 NovemberHi Phillip, you don’t always need an IDX provider, especially if you have some experience with RETS/RESO Web API. If you are interested in the non-provider route, check our our Organic MLS Integration plugin. Our technical team can help with the data integration.