
How to Send Your WordPress Real Estate Blog Posts Automatically to Social Media
Real estate agents are extremely busy. Everyday they manage client meetings, open houses, content creation and more. So, automation of routine tasks can offer great benefit.
One of the most frequent and tedious tasks agents face is cross-posting. Modern marketing requires agents to be active on multiple social media platforms and to feed them regularly with new content.
But this can take time and energy away from sales.
In this article, we will show you how to send your WordPress real estate blog posts automatically to social media, so you can save time and focus on the activities that bring you the most income.
Why Is Cross-Posting Important?
Real estate agents need to draw users to their social media. This requires regular updates across several accounts. Cross-posting allows agents to publish content in multiple online communities without needing to craft individual posts for each. By cross-posting important blogs and listings, agents can grow their audience and generate more leads.
How Can I Send WordPress Real Estate Blog Posts Automatically to Social Media
There are many ways to automate cross-posting between WordPress and your social media accounts. In this blog, we will focus on a free WordPress plugin called JetPack. But you can also do it with IFTTT. If you are a Realtyna customer, we can help you set up a new trigger in the Zapier Add-on
Step 1. Install JetPack
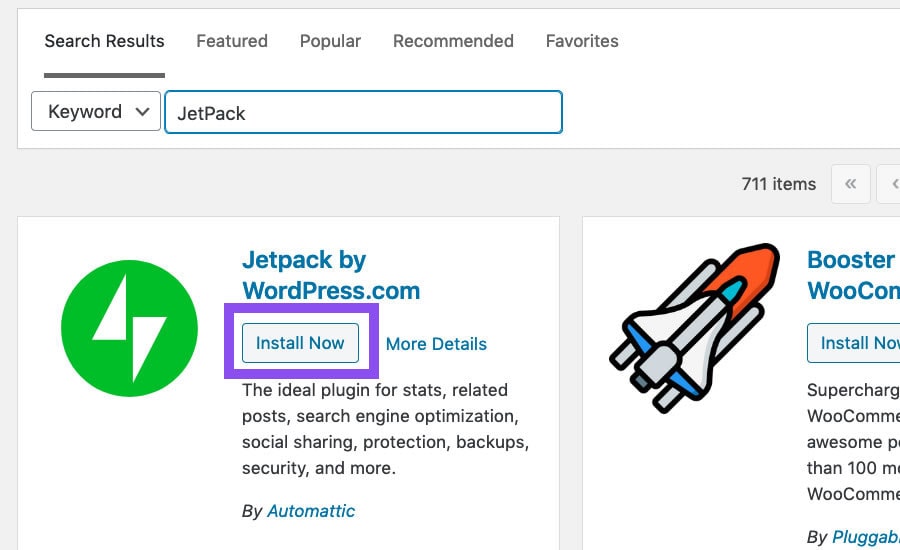
From your WordPress dashboard, select Plugins > Add New. Then, type JetPack in the search field. Install and activate.
Step 2. Set Up JetPack
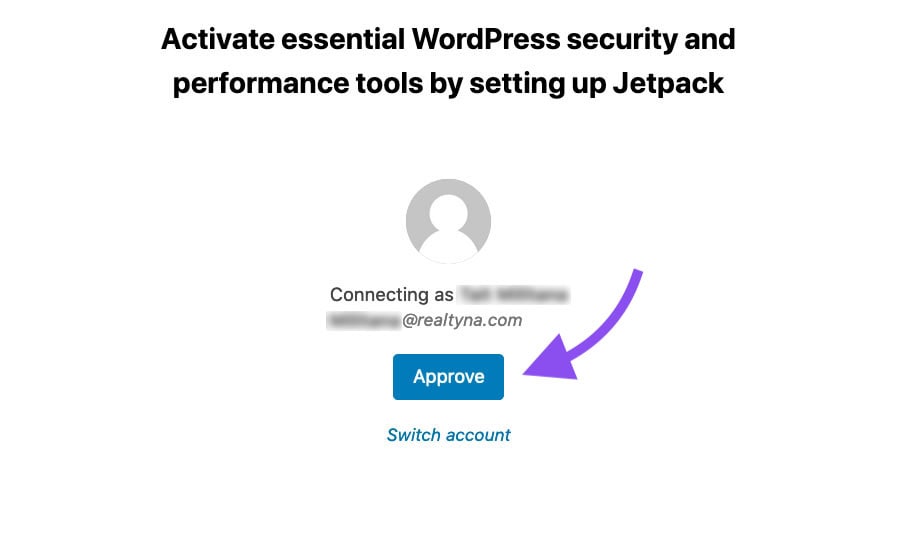
Click set up. This will link the JetPack plugin to your WordPress.com account. If you do not have an account, you will have the opportunity to create one.
Step 3. Select a Plan
Select your preferred plan for JetPack. In this demo, we will use the free option.
Step 4. Sharing Options
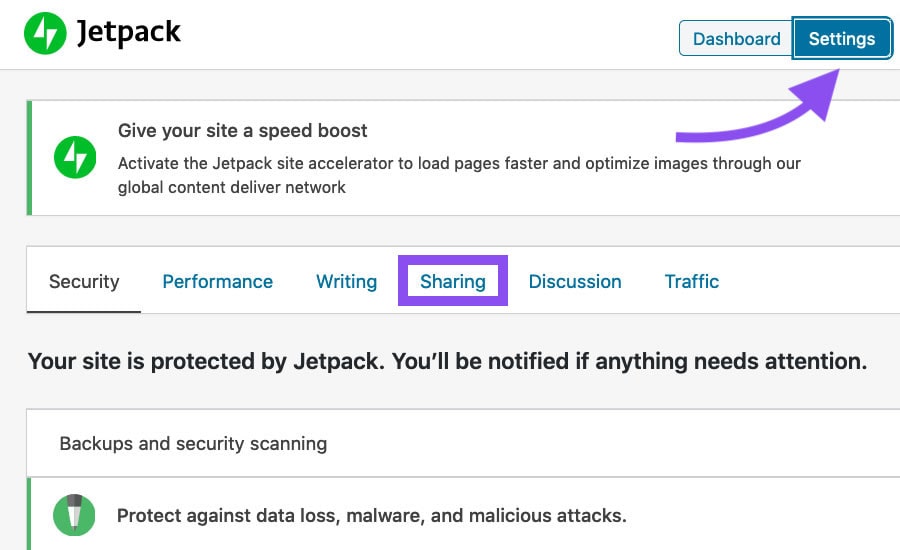
From the JetPack dashboard, click settings. Then, select sharing. You can also navigate to this menu by selecting Plugins > Installed Plugins > JetPack > Settings > Sharing.
Step 5. Activate Publicize
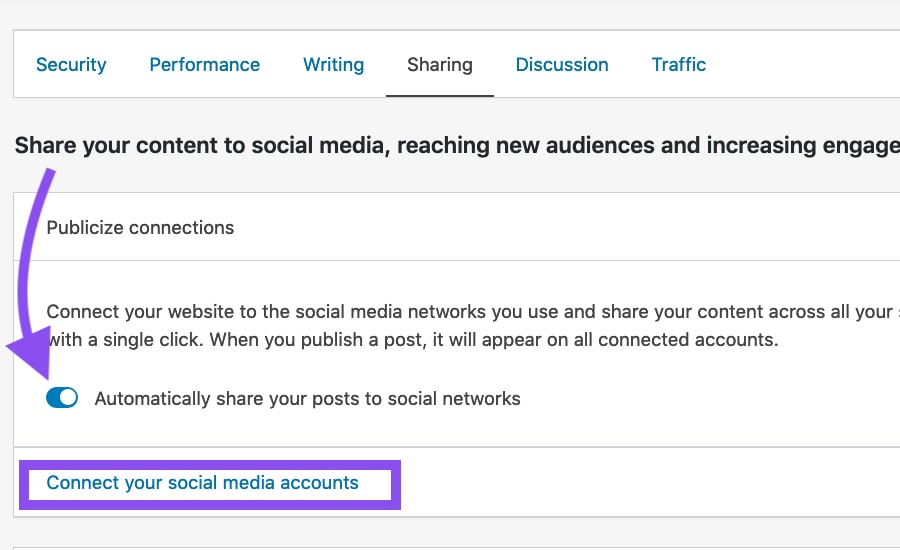
Click the Publicize toggle to activate automatic sharing. Then select Connect your social media accounts.
Step 6. Select Social Media
Select the social media account you wish to connect to your WordPress blog. In this demo, we will use Twitter. But you can use any of the accounts listed.
Note: To be able to cross-post on Facebook you need to have access to a Facebook page, not simply a personal account.
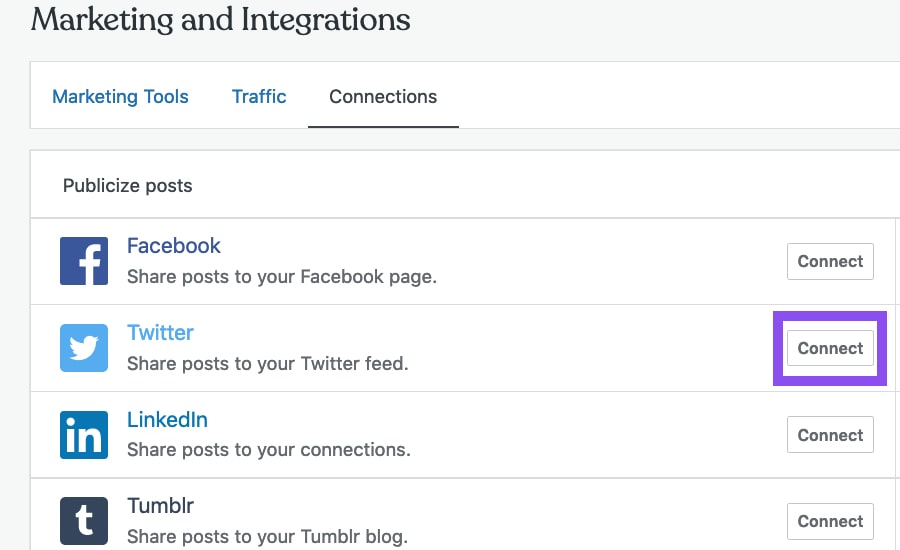
Step 7. Sign In
Log into your account to authorize the connection.
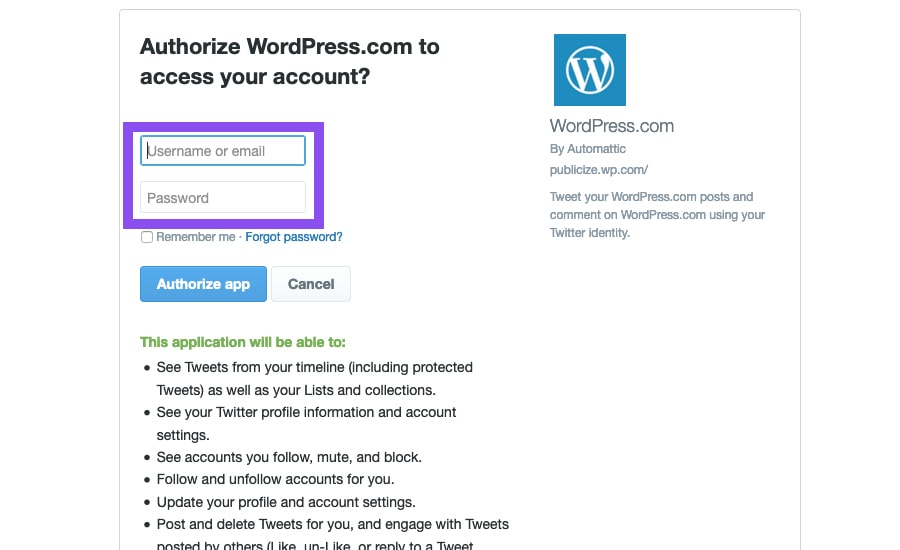
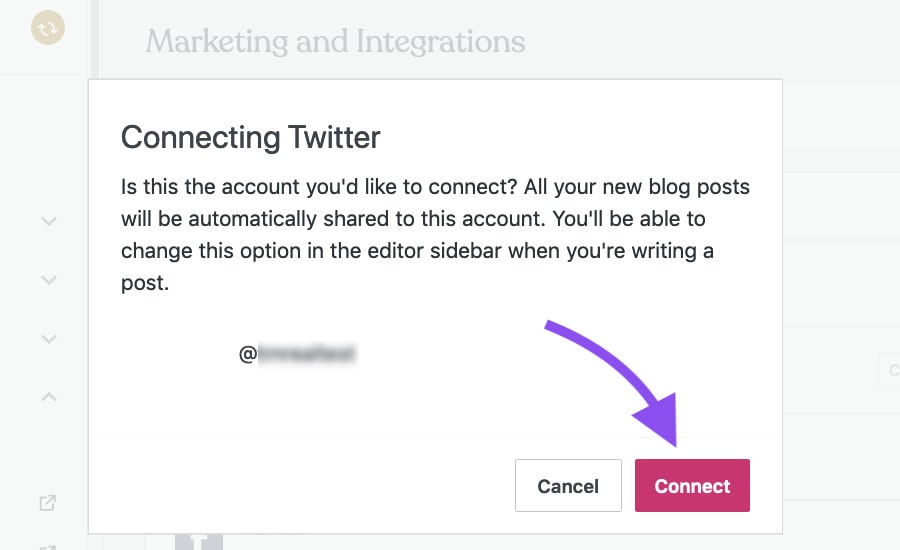
Step 8. Confirm
Confirm connection.
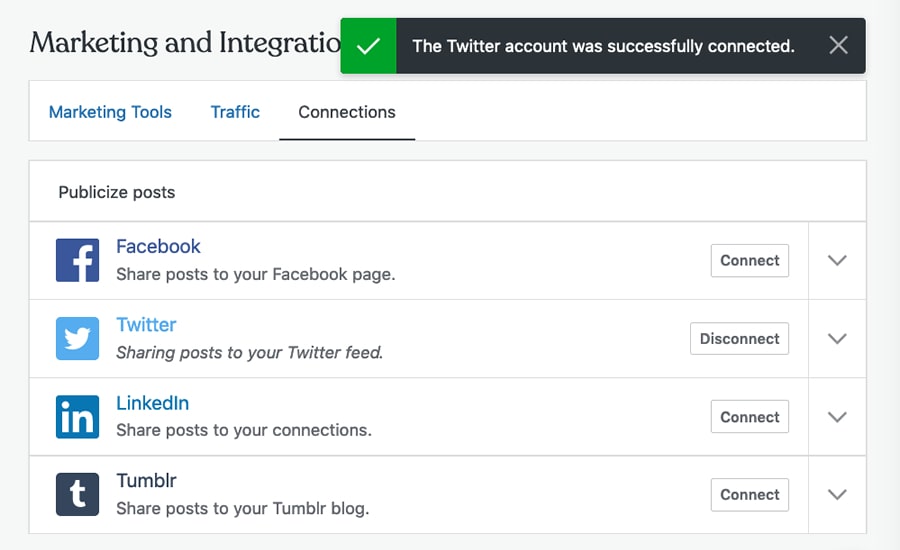
Congratulations! You’re ready to start cross-posting.
Step 9. Share
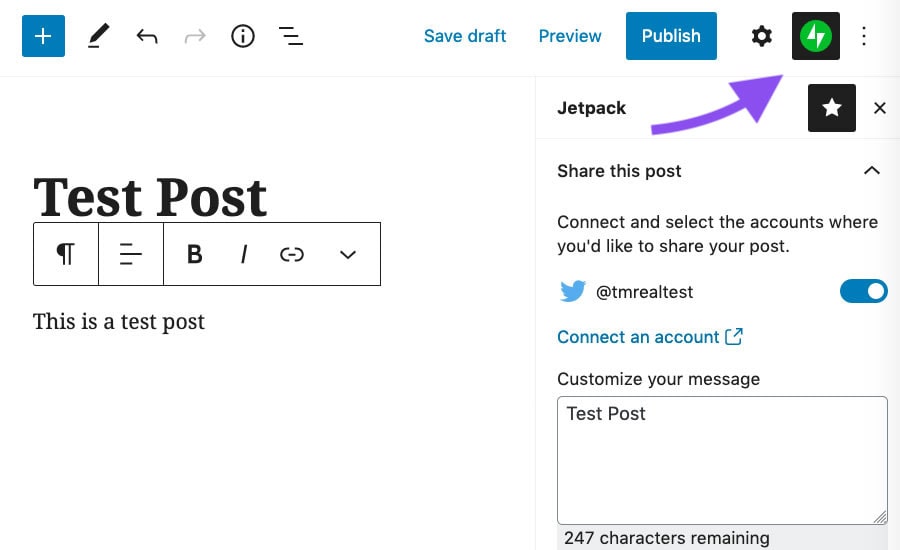
You can edit your cross-posts before you send them. Select the JetPack logo in the post editor. Toggle your social media connections and add a custom message.
Happy cross-posting!
Now you know how to send your WordPress real estate blog posts automatically to social media. Questions or feedback? Leave them in the comments. Or for more from the Realtyna Blog, check out How to Blog Faster and Produce More Content For Your IDX Real Estate Website and How to Protect Your IDX Real Estate Website From Theft and Scraping.


Sorry, the comment form is closed at this time.