8 Steps to Build a Bright MLS IDX Website With WordPress
Bright MLS IDX and WordPress offer a strong pairing for real estate agents. The power of Bright MLS IDX and the flexibility of WordPress mean you can build a site unique to your business and stand out from the crowd.
While Bright MLS IDX and WordPress can help take your business to the next level, getting started may be a little intimidating if you are not familiar with WordPress.
We put together this guide to help agents of all experience levels to get established on WordPress and add a Bright MLS IDX feed.
What is Bight MLS?
Bright MLS is a multiple listing service formed from the consolidation of nine other MLS in the Mid-Atlantic United States. With a coverage area from New Jersey to Virginia, Bright MLS has built itself into one of the nation’s largest MLS, representing 85,000 agents and brokers and 10 million property records.
What Is WordPress?
WordPress is one of the world’s most popular website builders. Built around a free and open-source content management system, WordPress features thousands of plugins that allow users to design custom websites with minimal coding,
What are Realtyna’s Organic IDX and Organic RETS Integration?
Realtyna’s Organic IDX and Organic RETS Integration are Realtyna’s sister products for establishing an MLS connection on WordPress. Each is a WordPress plugin that works by integrating MLS listings into your site to help you build a property search display.
Check out our demos, to see how they work on a live site.
LUKE’s TIP:
 How to Build a Bright MLS IDX Website With WordPress:
- Buy a Domain and Hosting
- Install WordPress
- Install IDX Plugin
- Install Theme
- Configure IDX Feed
- Test IDX Feed
- Configure Search and Lead Capture
- Add content
Buy a Domain and Hosting
Like other website projects, your first step on WordPress should be to buy a domain and hosting package. This will give your website a name and a place for it to live. Most of the top hosting providers will allow you to buy a domain and hosting at the same time, which can help simplify things.
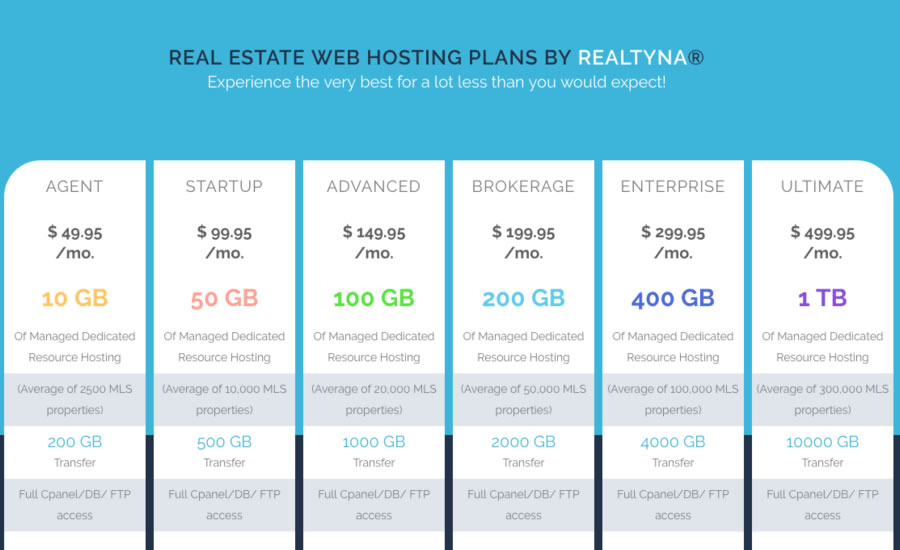
While we don’t recommend one hosting provider over another, we know Bluehost offers one-click WordPress install. If you have no WordPress experience at all, this may be a good option. Additionally, Realtyna also offers dedicated and managed hosting services as well.
 Install WordPress
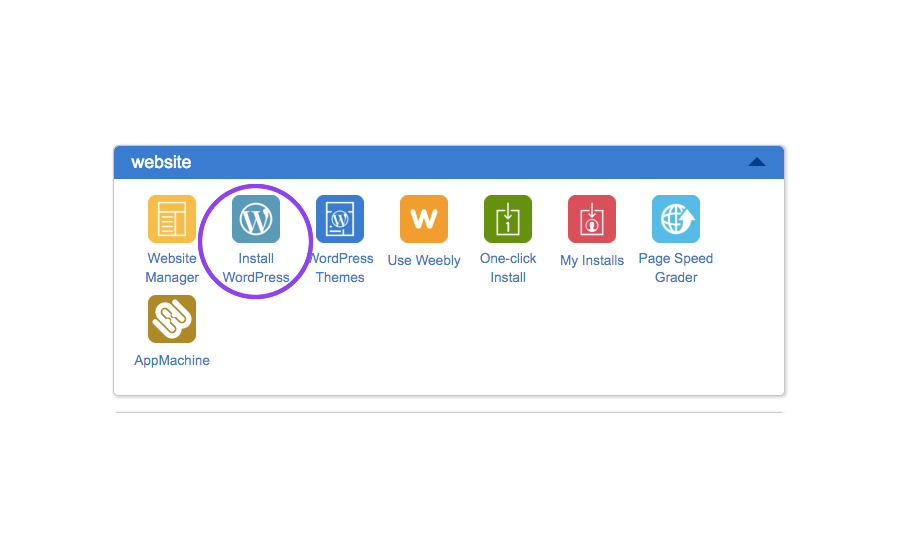
Log into your Bluehost admin panel. Find the ‘Website’ menu, and click ‘Install WordPress.’
You’ll be automatically directed to the MOJO install site. Enter your domain name and click ‘Check Domain.’
On the next screen, you’ll have the opportunity to set up an admin and password. When you are ready, click “Install Now.”
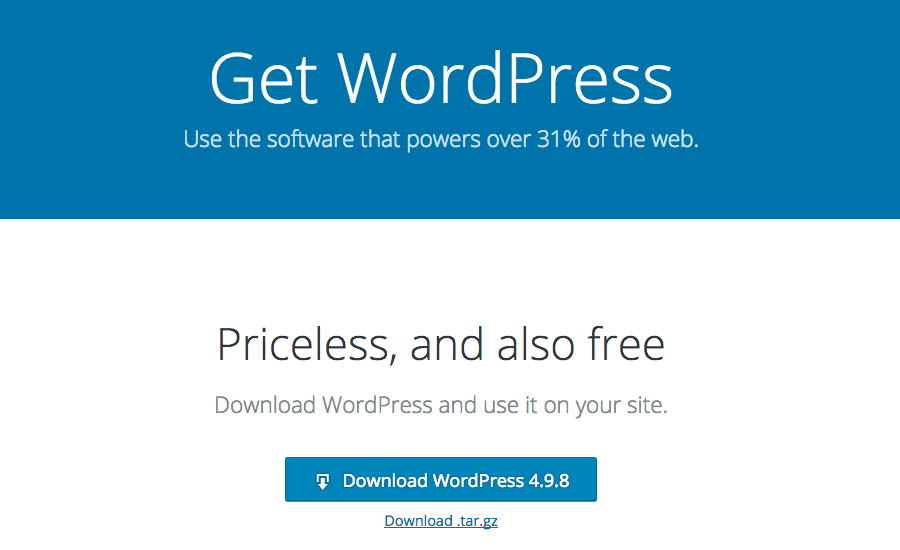
 You can also install WordPress manually, by downloading the software file from wordpress.org/download. Unzip the file to your computer then upload it to your webserver.
When you next access your site from a browser, the install script will automatically run.
 Install IDX Plugin
Now that WordPress is installed, you can start adding your website components.
Realtyna offers software to integrate an MLS with WordPress. As soon as you complete your purchase, the software will be made available for download.
Installation is done in two steps.
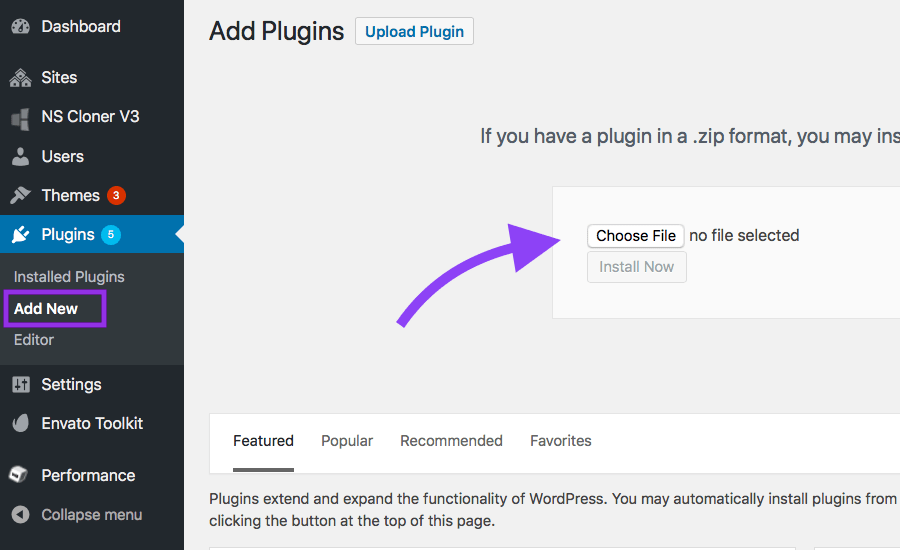
First, log into your WordPress dashboard, navigate to ‘Plugins, click ‘Add New,’ then browse your computer for the main Realtyna plugin zip file (WPL).
The integration add-on then can be added by navigating to ‘WPL’ > ‘Purchased Add-ons.’
 What is Organic MLS Integration?
Organic MLS Integration is Realtyna’s RETS softare for WordPress. It allows you to connect to your MLS and host property listings optimized for search engines and web visibility.
Realtyna’s Organic IDX and Organic RETS Integration purchases include installation and one year of technical support at no extra charge.
Install Theme
You should choose a WordPress theme that is compatible with your IDX plugin.
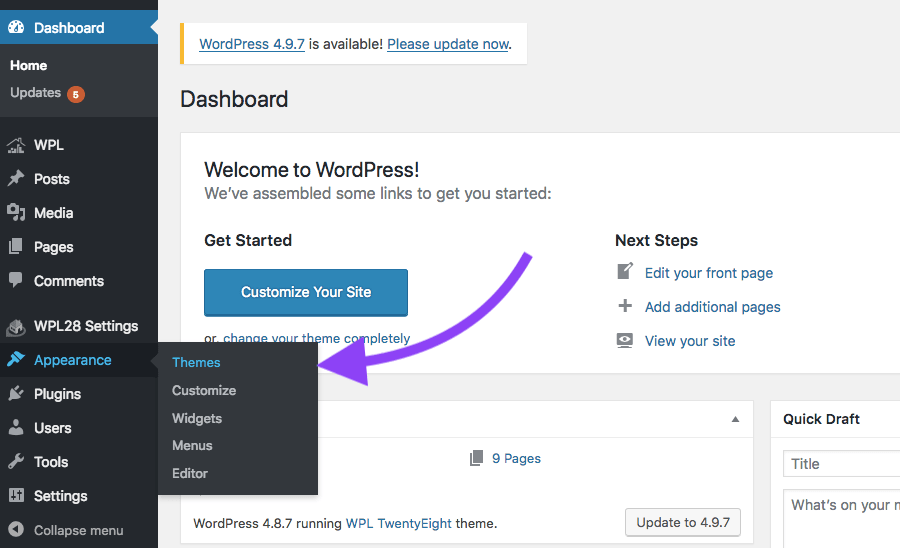
When you are ready to install, navigate to ‘Appearance’, then ‘Themes.’ Then click ‘Add New’ and browse your computer for the theme file.
Note: Realtyna’s Organic IDX and Organic RETS Integration are compatible with Divi, Avada, Bridge, Enfold, and many others.
 Configure IDX Feed
Most IDX plugins give you the option to configure the listings you display on your site. This can be controlled through filters or in more advanced plugins (like Organic RETS Integration) queries to the MLS server.
You should be able to find configuration settings in your plugin’s options. Log into your WordPress dashboard and find your plugin. Then, view the default settings and make changes as necessary.
Test IDX Feed
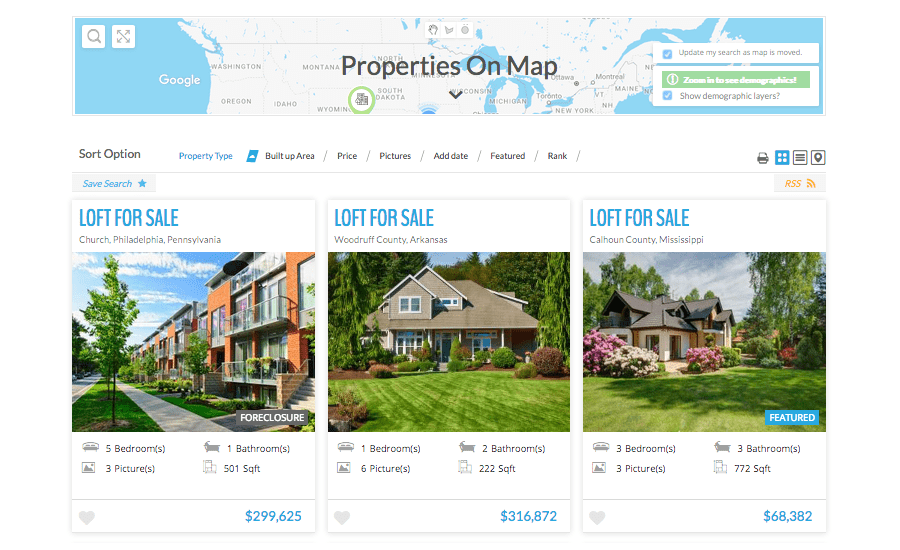
Run a few front-end searches and compare them to the results in your MLS system to verify the accuracy of the listings on your site.
 Configure Search and Lead Capture
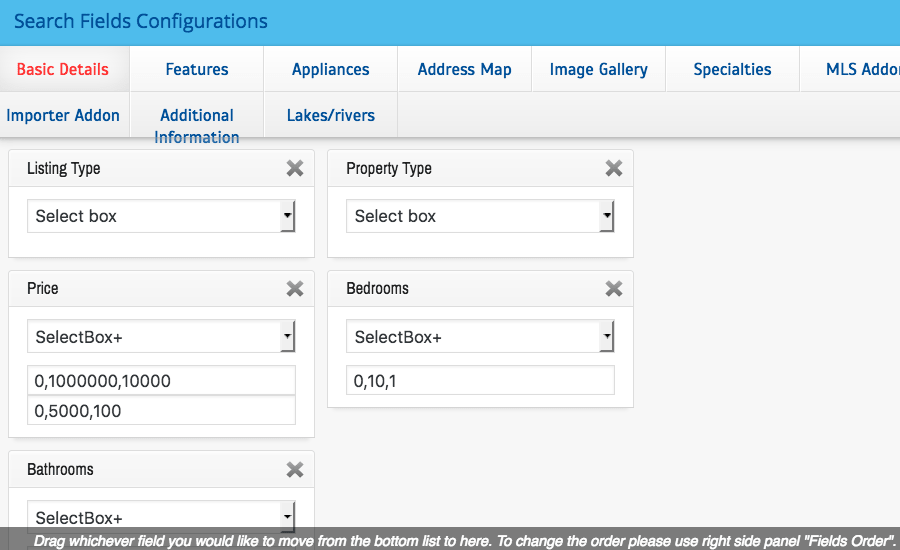
Customize your front-end search and lead capture features to maximize returns from your site. How to do this will depend on your IDX software. For Realtyna products, you should log into your WordPress dashboard. Then navigate to ‘Appearance’ then ‘Widgets’.
Find the ‘WPL Search’ widget, and then click ‘View Fields.’
 Add content
At this point your Bright MLS IDX feed is up and running. You should fill out your site with an About Me page, an agent page, etc. You should also consider some targeted SEO content. For more on generating real estate content for your Bright MLS IDX website, check out How To Narrow Your Business Focus With Real Estate Niche Marketing and What Should I Write About on My Real Estate Blog?
For more on working with WordPress as a real estate agent, check out How to Change Your WordPress IDX Website Theme and How to Add IDX and School Ratings Data to a WordPress Website
Watch our video
Read more about WPL Here.


Sorry, the comment form is closed at this time.