How to Set Up an Email Address for Your IDX Website
Real estate agents doing business online need tools. For many, the most important is the IDX website, which allows them to publish listings and generate leads. The next most important might be an email address.
Once you have your IDX website in place, you can set up an email address in as little as 9 steps. In this article, we’ll show you how to do it using cPanel (the most common webhosting software) and Gmail. CPanel will allow you to create an email address with your domain name. Gmail will allow you to send and receive messages with this email address.
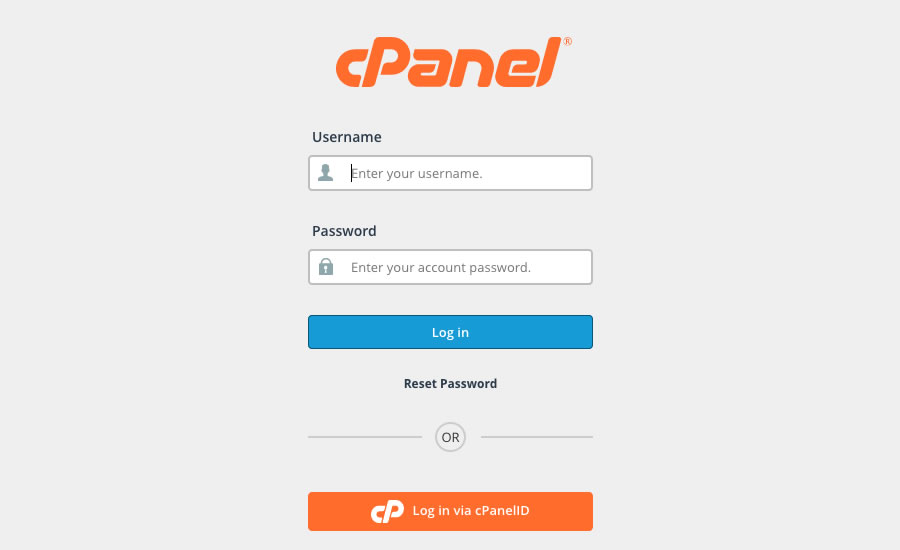
1. Log Into cPanel
The first step is to log into cPanel. If you set up your IDX website using a web designer or some other service, they probably provided a link to your cPanel when they delivered your site. Otherwise, you can access cPanel through your website hosting account.
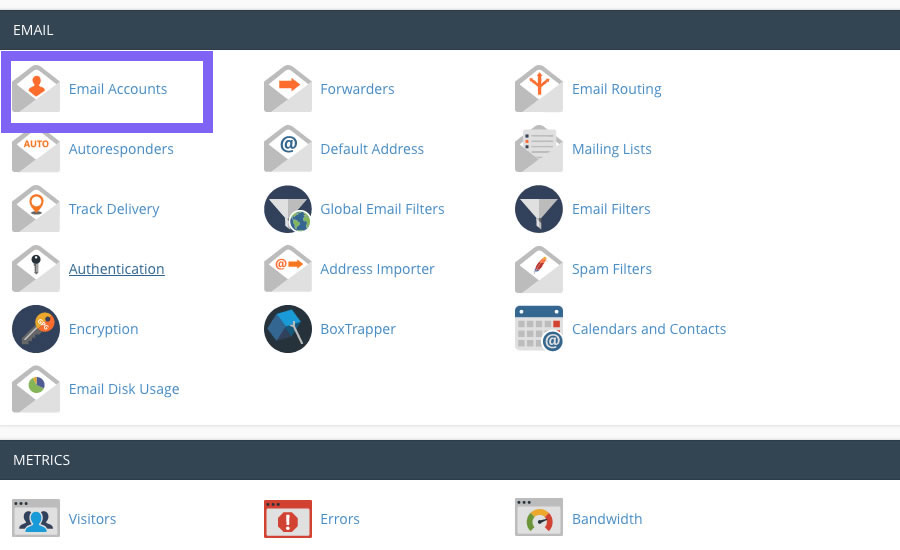
2. Click On Email Accounts
Once in, you should scroll down until you see the Email options. Click on Email Accounts. This will open a page where you can add a new email address for this domain.
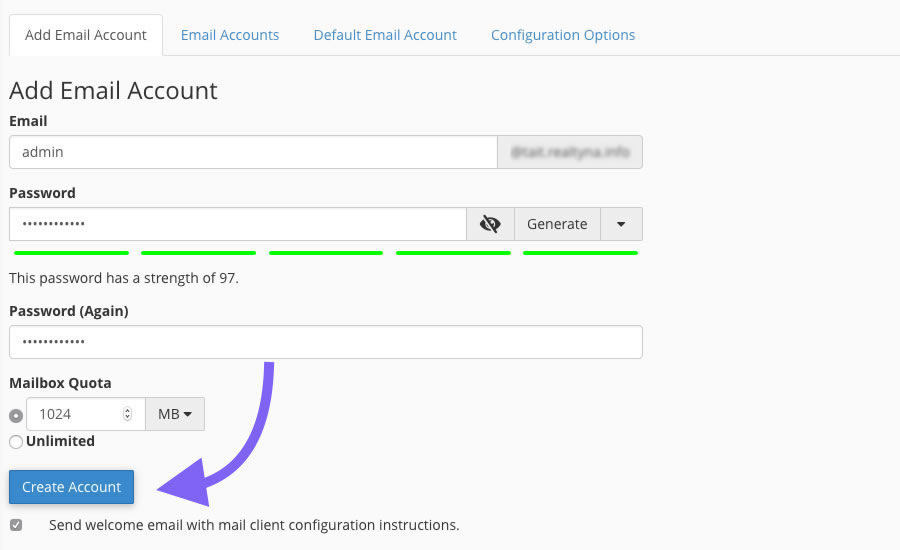
3. Enter Your Desired Email and Password
Choose an email and enter it into the first field. CPanel will automatically provide your domain to complete the email address. Then, enter a strong password into the next two fields. Then, click Create Account.
4. Click on Forwarders
Now, click on Forwarders from the Email options. This should be next to the Email Accounts icon you selected in step 2.
LUKE’S TIP:

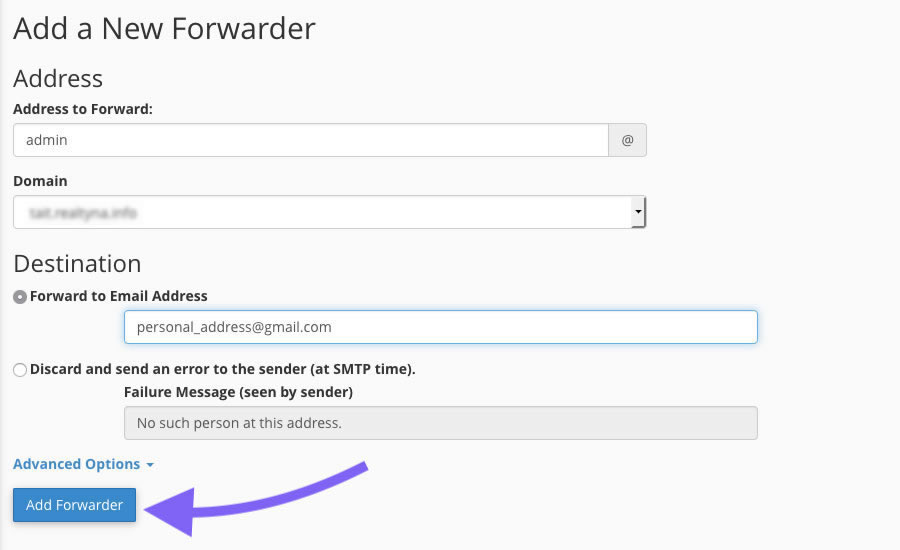
5. Enter Your Personal Gmail Account
On this page, you should enter the email address you just created under the Address headers. Under the destination header, select Forward to Email Address. Then, type your personal Gmail account into the field.
Your email address has now been created. And it has been configured to forward to your Gmail. Now, we need to configure Gmail to allow you to send emails from this account.
6. Log Into Gmail
Log into your personal Gmail account.
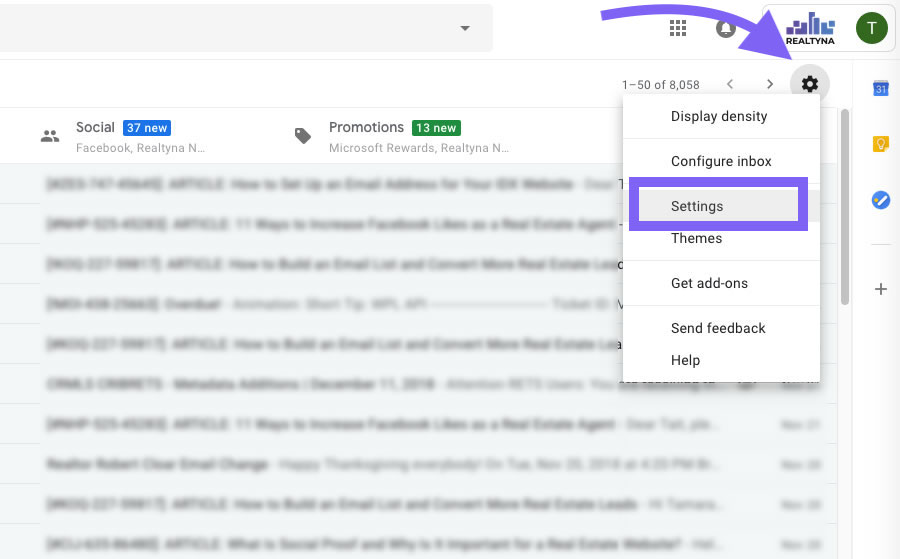
7. Open the Settings Menu
In the upper right-hand corner, you will see a gear icon. Click on this, and then select Settings. This page will provide all the configuration settings for Gmail.
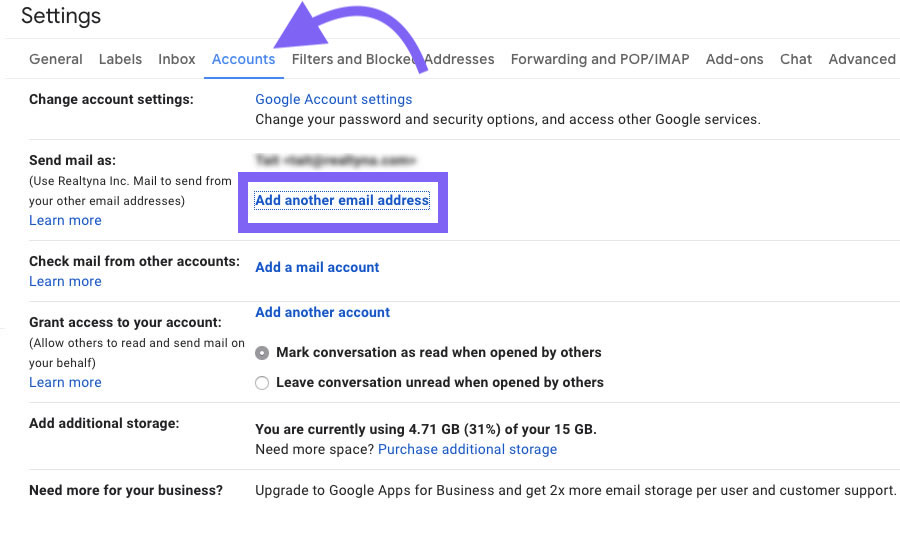
8. Add Another Email Address
From the top menu, click on Accounts. Then, find Send Mail As. Now click on Add Another Email Address. This will allow you to link the email you created in cPanel to your Gmail so you can send and receive messages.
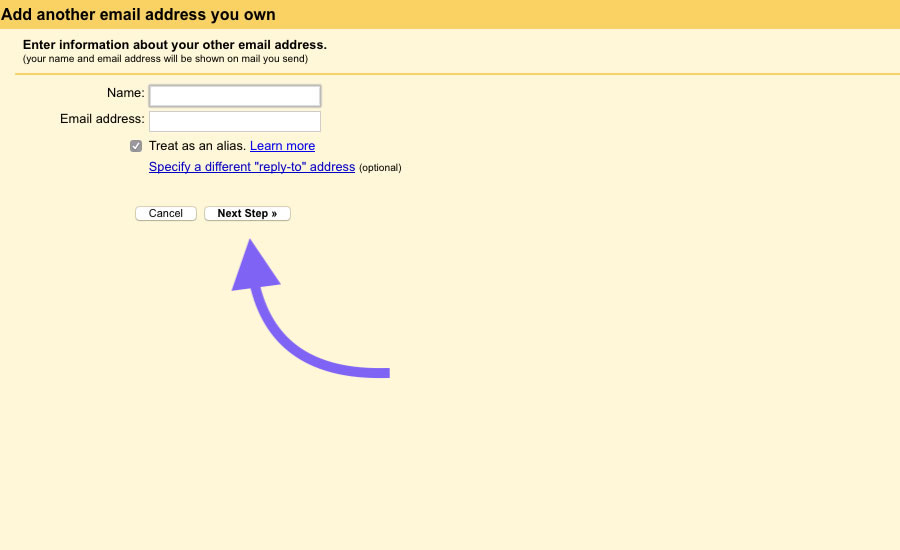
9. Enter the Email Address You Just Created
Complete the dialogues to confirm you own the new account. Once complete, your new account will be ready to use. You can test it by sending yourself an email.
Now you know how to set up an email address for your IDX website. For more IDX website tips, check out How to Use Google Analytics With Your WordPress IDX Site and 13 Tips for Starting a Real Estate Blog.
Sorry, the comment form is closed at this time.